
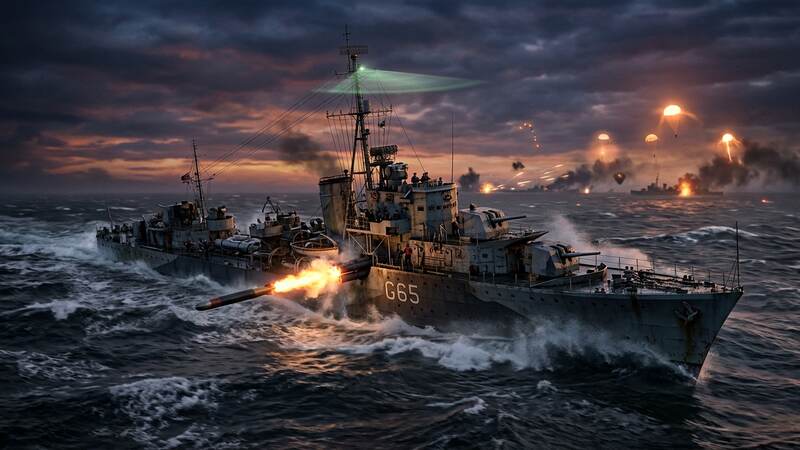
Vision Control Is King: In World of Warships, a warship that is spotted while its enemies remain concealed is a dead warship. Every tactical maneuver—from contesting a capture point in a Destroyer to kiting a flank in a Cruiser—is governed by your Surface Detection Circle, the 20-Second Main Battery Gun Bloom Penalty, and the exact 10km to 12km Surveillance Radar rings on your minimap.
1. Deconstructing the Minimap Detection Rings & The 20-Second Gun Bloom
The first setting every competitive captain enables in World of Warships (by pressing `+` to enlarge the minimap and clicking the gear icon above it) is Ship Names + Last Known Positions + Hydro/Radar Ranges.
Your warship is surrounded by a dynamic Surface Detectability Ring (ranging from ~5.4km on stealth torpedo destroyers like Shimakaze and Kagero up to ~12.5–14.5km on battleships):
- Passive Concealment State: As long as no enemy warship has line-of-sight inside your base detectability radius, your ship is completely invisible to the enemy team.
- The 20-Second Main Battery Bloom: The instant you pull the trigger on your main guns, your detectability radius expands instantaneously to your maximum main battery firing range (e.g., 16km to 21km) for exactly 20 seconds.
- How to Break Gun Bloom: The 20-second bloom penalty only keeps you spotted if an enemy ship has direct line-of-sight (LoS) to you inside that expanded circle. If you fire your guns from behind an island—or if the single enemy destroyer spotting you smokes up without hydro/radar or ducks behind an island—your detection bloom resets to your base concealment immediately, even if only 3 seconds have elapsed!
---
2. Surveillance Radar vs. Hydroacoustic Search: The Capture Zone Trap
Destroyer captains who charge nose-first into a capture circle at the 18:30 mark and immediately pop a Smoke Generator often die within 30 seconds. Why? Because smoke screens are a two-way blindfold without external spotting, and high-tier cruisers bring two devastating vision consumables:
| Consumable | Typical Range | Duration | Penetrates Islands & Smoke? | Primary Vessels Carrying It |
| :--- | :--- | :--- | :--- | :--- |
| American / British Radar | 10.0 km | 30s – 40s+ | Yes (Ships only; does NOT spot torpedoes) | Des Moines, Salem, Worcester, Minotaur, Brisbane |
| Soviet Long-Range Radar | 12.0 km | 15s – 20s | Yes (High range, short burst window) | Moskva, Alexander Nevsky, Stalingrad, Petropavlovsk |
| German Hydroacoustic Search | 6.0 km Ships / 4.0 km Torps | 100s – 120s | Yes (Spots both ships AND incoming torpedoes) | Hindenburg, Z-52, Schlieffen, Bismarck, GK |
The "Reverse-In" Destroyer Survival Technique
Never sail bow-first into a contested cap when enemy radar cruisers are unspotted. Approach the edge of the capture ring, execute a 180-degree U-turn outside the cap, and reverse your stern into the zone while keeping your bow pointed toward open friendly water. The moment your Located (RPF) or Radar Detected icon lights up, slam your engine telegraph to Full Ahead + Engine Boost—escaping the 10km/12km radar circle in 6 seconds instead of spending 18 seconds turning a broadside hull under focused HE fire.
---
3. Fleet Crossfire Geometry: Why Two 45-Degree Angles Beat One Deathball
When five allied warships clump behind a single island on the A-cap flank, the enemy simply angles their bows toward that single grid square and bounces 90% of incoming AP shells.
To break an entrenched flank in World of Warships, create a 45-to-60-degree crossfire:
- If an allied battleship holds the central B-C line while your cruiser or battleship pushes out to the 1/2 or 9/10 map border, the enemy defender faces an impossible geometry problem.
- Angling their bow toward your flank exposes their flat 90-degree broadside citadel to your central teammate; turning to angle against the center exposes their broadside to you.
Read our full World of Warships Armor Angling & Ballistics Guide and play World of Warships free via the official portal here.